
Have you ever read the book "If You Give A Mouse A Cookie"? I kind of feel like I need to re-write the book for people who are doing a remodel.
Title: If you start a remodel project (even a little one)......
Here is how our story would go.
If you start a renovation and try to keep it in just the kitchen it won't work.
Because if you scrape the popcorn ceiling you will have to scrape it in the living room to keep the "look" consistent.
If you scrape the popcorn ceilings, the paint will need to be touched up. If the paint needs to be touched up then you might as well refresh the color and make it match the new kitchen (especially if the paint color is over 12 years old and you don't have any leftover).
If you change the color of the cabinets then the railings and hand rails will look terrible and out of date so you need to paint them.
If you paint the railings then you need to paint the window sills and the fireplace mantle.
If you paint the fireplace mantle then you should do something about the terrible tile on the fireplace that you have hated since you moved in 14 years ago.
Whew...glad that is done. But there's more. If you replace the flooring in the kitchen, it should match, so replace it everywhere.
And so forth and so on. Get the picture. Suddenly a one-room project because a whole main floor project.
But it is nice to have a clean, fresh update to most of our communal living spaces.
I didn't really take any "before" pictures of this room because we
weren't really planning on doing anything to this room. So here is my
one "before picture".

And another construction picture for you.
Of course, we had to add some new lighting as it is kind of a "why not"
or a "we will regret it later if we don't now". So we now have 4 pretty
new lights in the ceiling (whereas before we had ZERO- just a lamp in
the corner).

Here is the final outcome. I love the coat rack I found at World
Market. This door goes to the garage and there isn't a coat closet or
any area for our coats/gloves/backpacks so it was nice to find this
piece. The new doors and molding also make this space feel, clean and
airy.


I also have always wanted to decorate my mantle
but never really knew what to do with my old, ugly mantle. So I had a
blast finding all of these bits and putting them together. So nice to
have a room that feels updated and FINISHED!

I went with a
bluish/greenish color on the wall to help the space feel a little bit
warmer. We also stuck with red accents to keep consistent with the
kitchen. I had an entire gallon of Gotham Gray left so I decided to
make the TV wall gray. It works and it was free (not free but you get
the picture).
My favorite change to the living room is the re-faced fireplace. We (by we, I mean me and my sister) used Airstone. It is a product carried by Lowe's. I wanted the gray toned one which my Lowe's didn't have in stock. So I ordered it online (thank goodness for the internet, amen?). They shipped it for free and their customer service was fantastic. It got here in record time. I even ordered the "glue" compound stuff online because, why not? It was delivered to my house and I didn't even have to go to my local store (#lazy). You can find the product here.

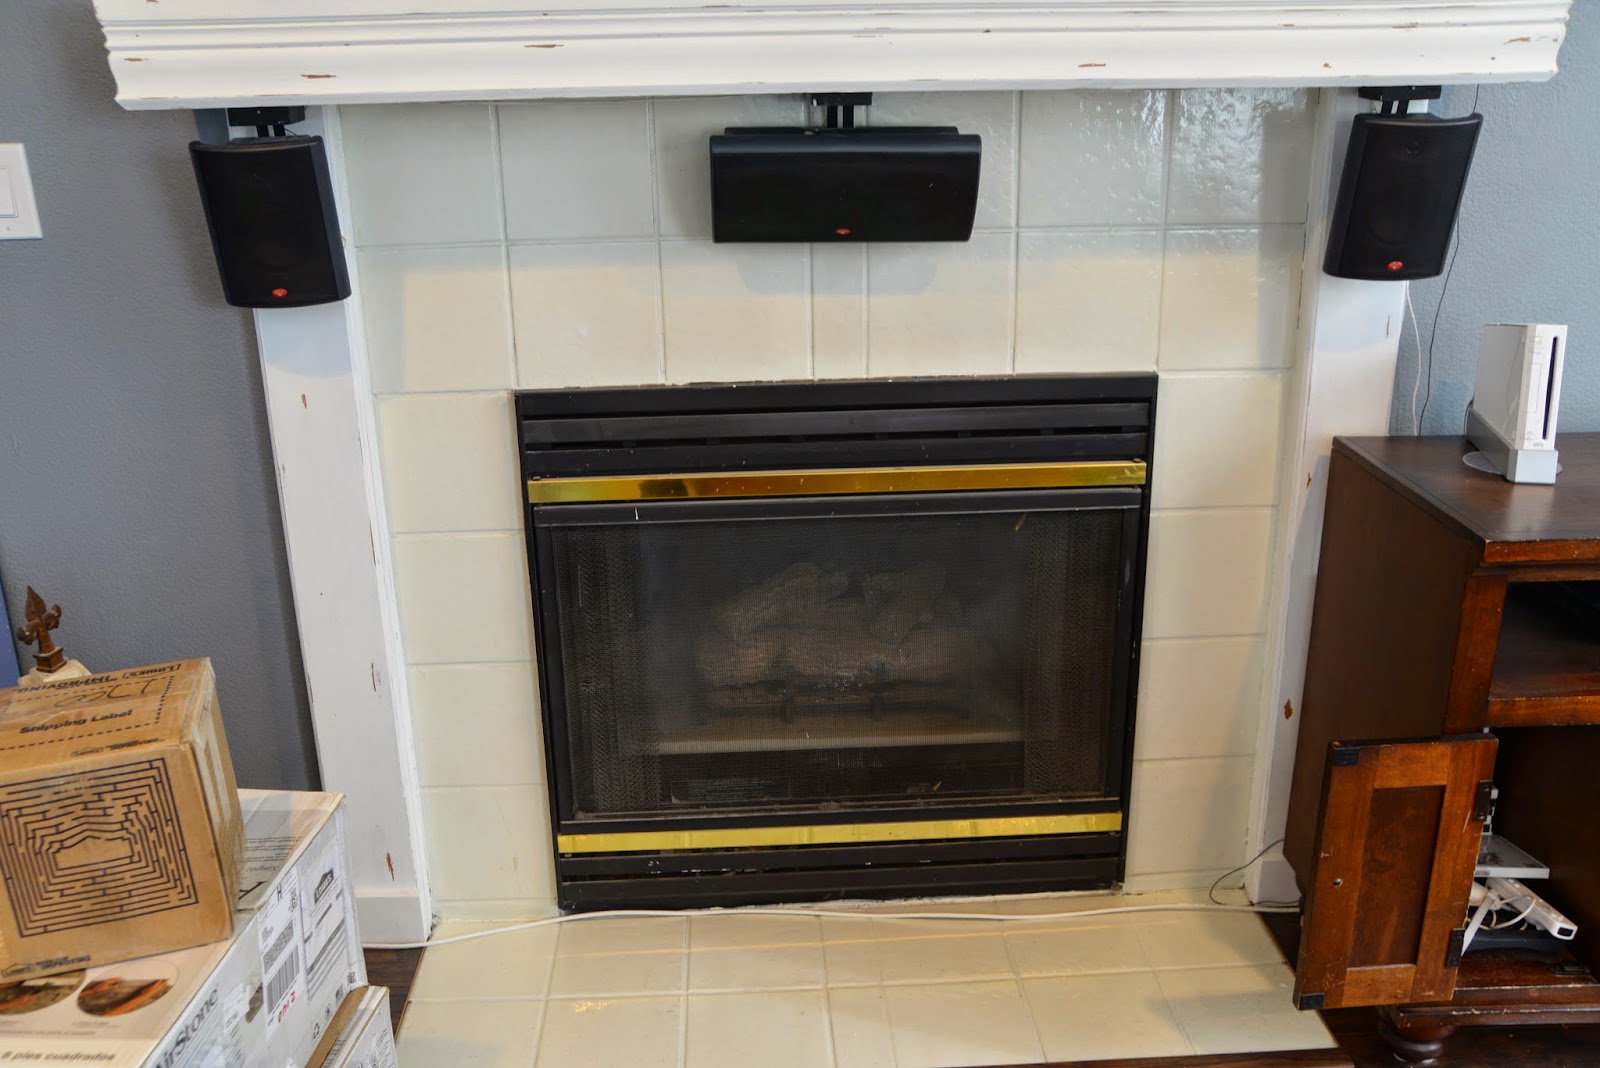
Fireplace "before". Although I had already painted the mantle. It used to be the 1980's wood. When we first moved the tile was a baby blue marbled tile. I HATED it and wanted to make the room warmer and painted a golden color that TOTALLY clashed with the baby blue. So I found some tile paint and painted it white. It was a good, cheap fix that has lasted us for a long time. However, the white was getting dingy and I wanted something more sophisticated so the Airstone was perfect for this project. Cheap, easy and really transforming!

It was SO easy to install. All you need is the adhesive, a hack saw and the materials. I didn't need any corner pieces so I just got 2 boxes of the straight pieces. Within the box is a variety of colors (shades of gray in my case), widths and lengths. They all fit together nicely. I started from the top so I could make sure that they top looked nice and that I could just add filler at the bottom if needed. I was really lucky in that the pieces fit PERFECTLY and I didn't have to cut a row in half to make it work. All you have to know how to do is frost a cake or butter some bread. Seriously. The adhesive just spreads on like cream cheese and then you stick the Airstone to the fireplace. I kept reading blogs and looking on Pinterest because surely it can't be that easy. Stop here people. It is THAT easy.


If you have any questions as to how I did this, feel free to ask!
This project would be perfect if you wanted a faux rock wall or anything! I also have about 3/4 of a box leftover sitting in my garage. Anyone want to buy it off of me? I will give you a deal. This whole project cost around $135 (less if someone wants to buy my 3/4 of a box leftover). It took about 3 hours. I worked solid the whole three hours and my sister helped for about an hour and a half. The hardest part was sawing once the blade got dull. So I would recommend having a spare blade for your hack saw. It just takes a little elbow grease, but isn't too hard or complicated.
It was a really fun project and just totally changed the look of the room.

I even spray painted the ugly brass part with a high heat spray paint to make it look more updated. Makes a huge difference. My awesome husband also helped me figure out how to take the glass out of the gas fireplace and clean it. That also made a huge difference. I can't believe I have never cleaned it before. But to my defense, I always covered up the fireplace with a cute gate thingy because I HATED it so I never saw the glass anyway.

Eventually I will get a few more things on the wall but for now it is cozy and I love it.
No comments:
Post a Comment